
My next sponsor guest post this the adorable Paige from We Three Pilgrims. I stumbled across her blog a while back after seeing one of her comments on my blog and I instantly fell in love. She is one of the most prettiest girls Ive ever seen, she has a big love for christ and her family, and she is an amazing designer and photographer. I highly recommend checking this beauty out!
Hi friends! I'm Paige from we three pilgrims. I love Laura's blog! She's an incredibly creative and fun person, and I am super glad to be here sharing this tutorial with you. This is an easy and fast way to sew a strand of bunting. Welcome spring into your space with something pretty!
1. Collect your materials: you'll need some pretty fabric, coordinating double fold bias tape (a 4 yd. package), a small circular plate or saucer, a piece of paper and pencil, scissors or pinking shears, a fabric marking pen (air or water soluble), pins, and a sewing machine.


3. Fold the circle in half, and then fold it in half again. Cut along one fold, leaving you with a folded half-circle. That fold marks the center.


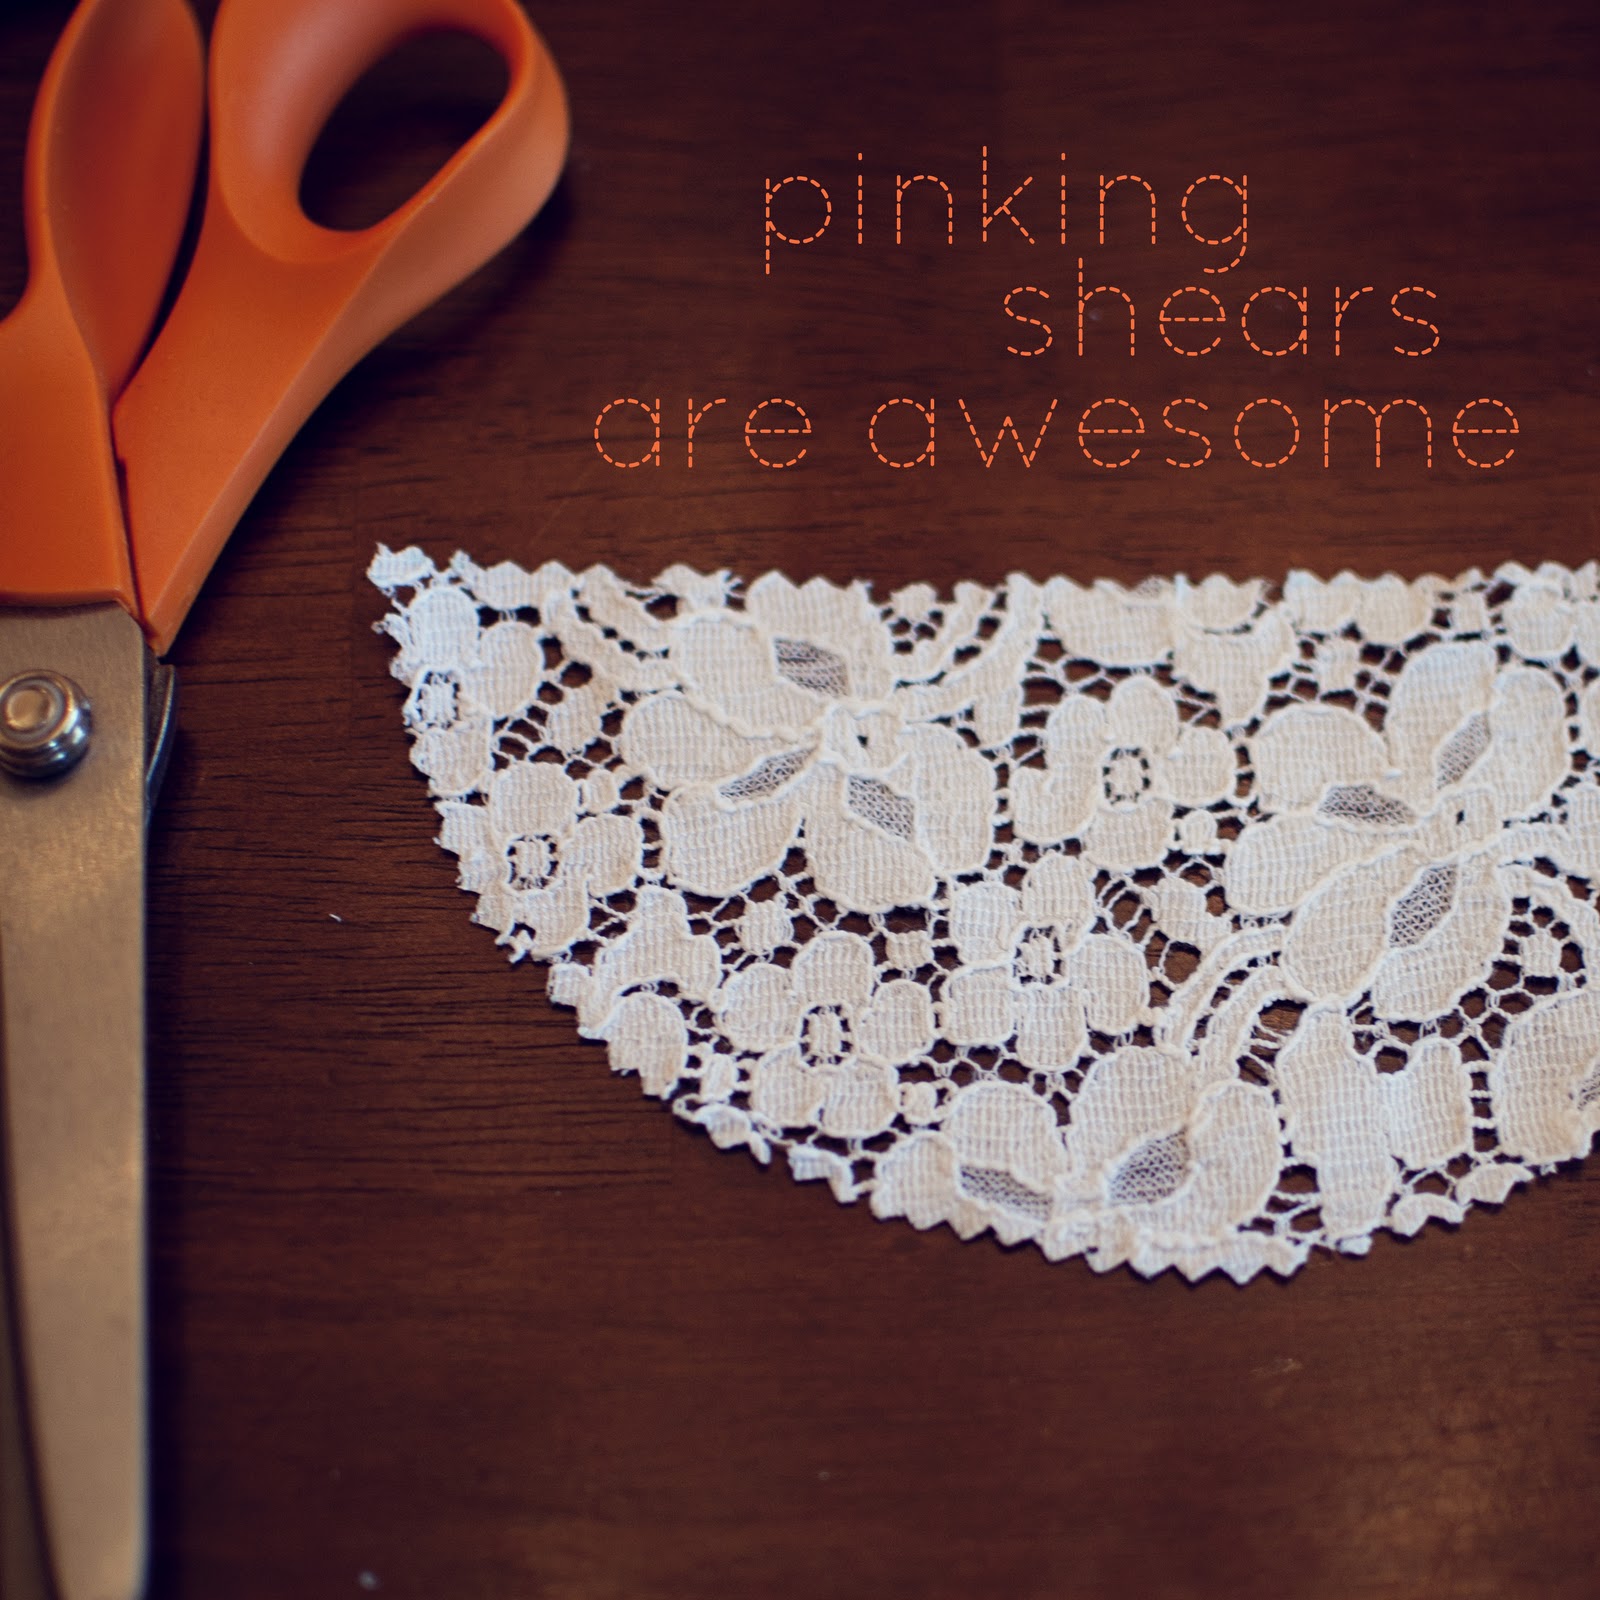
5. Using your half-circle pattern and fabric marking pen, mark out and cut twelve half-circles out of your material. Pinking shears are great for this! The ends will end up nicely frayed, not stringy. Using the fold in the center of your half-circle, mark the center at the top of each piece you cut from the fabric.

6. Open the bias tape and place the half-circles inside, matching the center with the marked folds. Pin them in place.


7. Sew the bias tape closed with a straight stitch, making sure to sew close to the edge so that the half-circles are secure inside the tape's fold. The trick for sewing a straight line down the bias tape is to let the machine do the work of pulling it through; just guide it straight with your fingers.

8. Once you are finished, trim your threads, remove any marks left from your marking pen, and press. Put your bunting up somewhere pretty! And also make sure you tell at least ten people you made it.

and put them into wind=)
ReplyDeleteOh, thank you sweet Laura!! Love to you!!
ReplyDeleteI LOVE this idea! I've been planning bunting as part of my wedding decor, and I love the lace! So very pretty. I even got really lucky and found a whole bag full of bias tape at Goodwill a while back. Seems like something I could start today!
ReplyDeleteBeautiful idea!! I love it! Can't wait to try it out myself! And your DIY is so easy to follow, there is hope that I can do it on my own! :)
ReplyDeleteI love this! Just beautiful! Thanks for sharing!
ReplyDeleteim definitely going to make one for my new house!
ReplyDeletesuch a cute tutorial...thanks so much for sharing! :)
ReplyDeleteWow, this is cute - and I haven't explored much yet, but I already love your blog!!
ReplyDeleteNatalie
http://www.bokehface.etsy.com
Very Pretty! So feminine!
ReplyDeleteChas @ A Woman's Haven